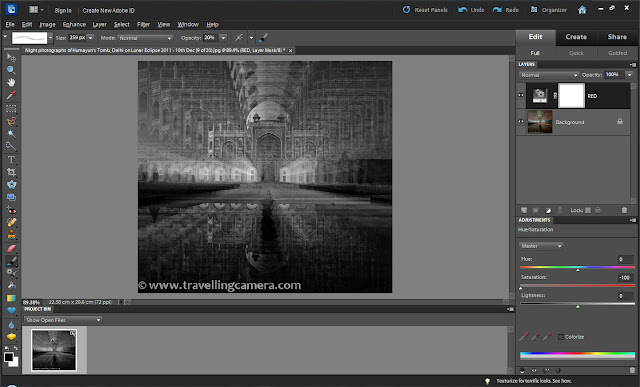
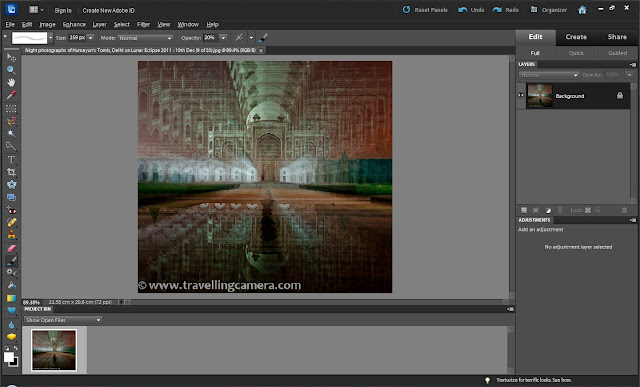
 Converting a colorful photograph into Black and White is quite easy with softwares like Adobe Photoshop Elements. There are different ways of converting a colorful Photograph into Black&White in Adobe Photoshop Elements and here we are going to discuss one of the preferred workflow by people who want to take advantage of different shades of colors to better play with Blacks, Whites and Grays in final result. Let's see what exactly this means and it there really a way to flexibly using color shades during conversion into Black and White...
Let's first try to understand how this conversion happens from different colors to Black and White. As we know that we have three primary colors - Red, Green and Blue. Other colors are made up of different combinations of these three basic colors. Each of these colors have different shades. E.g. - There can be multiple shades of RED - from light/bright Red to Dark Red and similarly applies to other basic colors Green and Blue.
Now let's take a example of 8-bit image which can have 256 values of RED and other two basic colors. When we convert a Photograph into Black and White, each value of basic color is mapped to corresponding value on Black and white scale of 0-255 where one extreme means pure white and other means pure black. Middle shades are grey with different shades and Luminosity. Now if we play with these shades of Red, Green and Blue and then convert into Black & White, we can have better Black-&-White results w.r.t. contrast and overall placements of Blacks, Whites and Greys. Hope this is clear. If not, we are no more discussing it further and would take this up as a separate topic and hopefully you will be able to make out from the workflow we are going to discuss. Let's go with Step-by-Step Guidelines to make a photographs Black-&-White.
1. Open a colorful Photograph in Adobe Photoshop Elements Editor.
2. Now go to Adjustment Layers option in Layer panel on right and select 'Hue/Saturation' Adjustment Layer.
3. On selecting Hue/Saturation Adjustment Layer, you will see following dialog and you may want to rename the layer.
4. Finally your workspace will look like the one shown below. A new Adjustment Layer on top of Background Layer of your colorful Photograph and three sliders in the bottom - Hue, Saturation and Luminance for each color mentioned in the dropdown- Master, Red, Green, Yellow, Cyan, Blue, Magenta.
5. Now select Master and reduce the Saturation to -100. This will make your photograph Black and White. So basically you are done here with basic conversion and further we are going to discuss the best way to optimizing Black-&-White results.
6. Here we are going to discuss a very basic step for optimizing our Black and White results. You will notice changes in each version of black & white you see below. We are not showing the best results and idea is just to demonstrate the way of doing it and how it can impact your final result.
So select any color in the drop down and play with Luminance slider. As you move, there should be some change in your Blacks, Whites and Greys. Select the most prominent color to actually notice is clearly.
Play with same slider for some other color and after 1-15 minutes you will start making out the differences and correct values for your choice of Black & White photograph.
For now, we are stopping here and will surely continue from here to make this Black and White result better from other aspects...


.jpg)
Comments