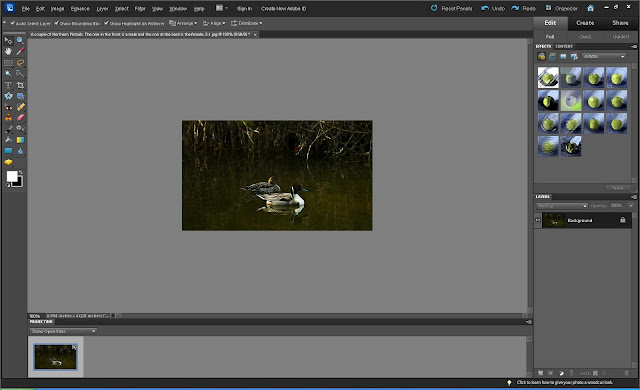
First software in hand build your habits for using a particular type of application during your work and many times we see folks upgrade from GIMP or Picasa to Adobe Photoshop Elements. In GIMP there is wonderful functionality through which multiple photographs can be opened as Layers of single image with one click and many times GIMP users try to figure out the way to do the same in Adobe Photoshop Elements. Let's see how can we do it in Adobe Photoshop Elements Editor -
First of all, unlike GIMP we can't open images as layers in Adobe Photoshop Elements. So it would not be a single click affair to achieve the same thing in Adobe Photoshop Elements. Here are we going to dicuss set-by-step guidelines to know - How can we have multiple Photographs as layers of single photograph or image. So here are some detailed steps with appropriate screenshots -
1. Open the base while where you want to place all Layers. Simply open this file through File Menu Open option.
2. When done, open other files you want to put as layers. Initially these will be opened individually in Adobe Photoshop Elements. Here I am taking an example with two photographs open in Adobe Photoshop Elements Workspace. Please the image below showing two images side by side in project bin.
3. While second image is being shown in Adobe Photoshop Elements, click CTRL+A to select whole image and press CTRL+C
4. Go to base photograph where you want other images as layer and press CTRL+V (Paste). It will create a new layer with image-2 and it will be shown as top layer in Adobe Photoshop Elements. Similarly you can continue with multiple images, as much as you want.
Please provide your feedback about this tutorial and do let us know in case you are looking for something very specific about any version of Adobe Photoshop Elements.


.jpg)
Comments