How Creative Cropping in Adobe Photoshop Elements can enhance overall looks of a Photograph || Creative Framing Technique in Adobe Photoshop Elements
I am not very sure if we should call it creative cropping or Creative Framing, as the final results can be seen as good because creative style of cropping a Photograph or implicit framing which is achieved by saving this Photograph as PNG to maintain the transparency. Anyways, here is our tutorial. Let's check out how this works in Adobe Photoshop Elements...
Let's go step by step and see how above mentioned results can be achieved in Adobe Photoshop Elements.
1. Open a Photograph in Editor Workspace of Adobe Photoshop Elements.
2. Creative a Duplicate Layer of the main Photograph.
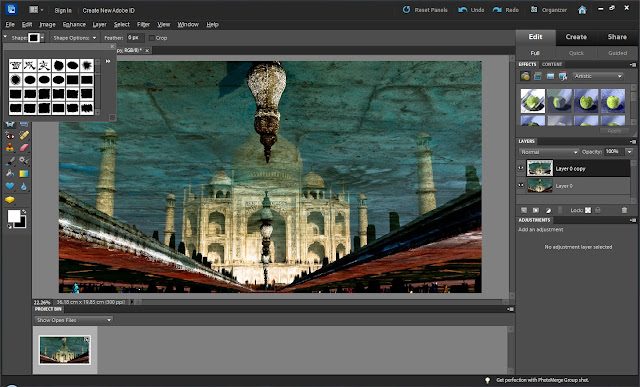
2. Select Cookie Cutter in Toolbar of Adobe Photoshop Elements Editor and there are various options available on top. the Black region in every Cookie Cutter indicates that the region which will retain the details of photograph and others will go away. So we have will select something rectangular with some rough edges.
4. Now apply the cutter to the photograph and commit when happy with it. If facing difficulty in seeing actual results, just uncheck the visibility of first layer.
5. Above is finally looking result when we apply Cookie Cutter and don't show the background layer.
6. After Step-5, save above result as a PNG which will show the results as you see in first Photograph in this article.
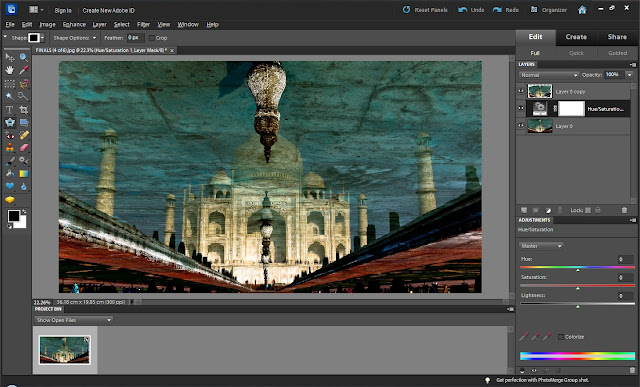
7. Let's move ahead and try to utilize this crop as creative way of framing the Photograph. Select Background layer and opt for Adjustment Layer for Hue/Saturation.
8. Now reduce the lightness to zero for the cropped region which will create a Black Frame around the cropped Photograph.
Here is the final result.
Unlike Other Tutorials, this tutorial is written with an assumption that you know basics of Tools and Layers in Adobe Photoshop Elements.
For further Queries around this or anything else in Adobe Photoshop Elements, please feel free to comment back.


.jpg)
Comments