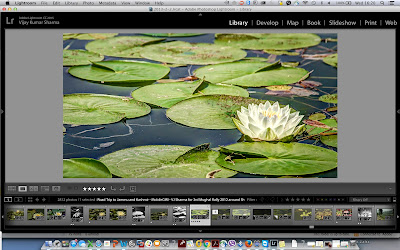
 Creating HDRs is interesting and at times we fell in love with HDR kind of details in photographs. But many times, we don’t have luxury to click appropriate photographs for HDR. Which means, taking multiple photographs of same scene at different exposure gaps by using bracketing. At times, it’s not even possible when you are shooing moving object. In the bottom of this post, I have shared some examples of HDR files having moving objects. Are you wondering how is it possible? In fact, there are multiple ways to getting HDR kind of details in your photograph but here I am going to share how you can trick Lightroom to get this job done with single shot. Are you ready?
1. Import the photograph in Lightroom
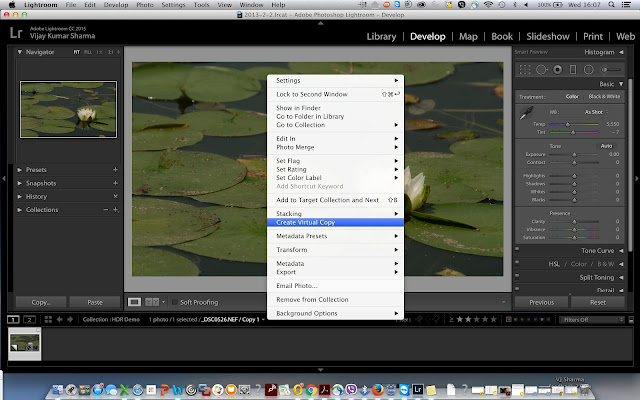
2. Create 2 virtual copies of the photograph
3. On one virtual copy, increase exposure of the photograph to ensure that darker areas are well lit.
4. Underexpose the other virtual copy, to ensure that we have some details in brighter parts of the image.
These are most critical steps because the amount of exposure you increase or decrease has major contribution towards final output. More accurately you do that, better results you get.
5. (Trick) - Export these virtual copies as actual photographs. I wish Lightroom had given me this option without export :). But I can understand that ideal workflow should have actual photographs clicked in bracketing mode, so no sweat. After exporting, import these 3 photographs into Lightroom.
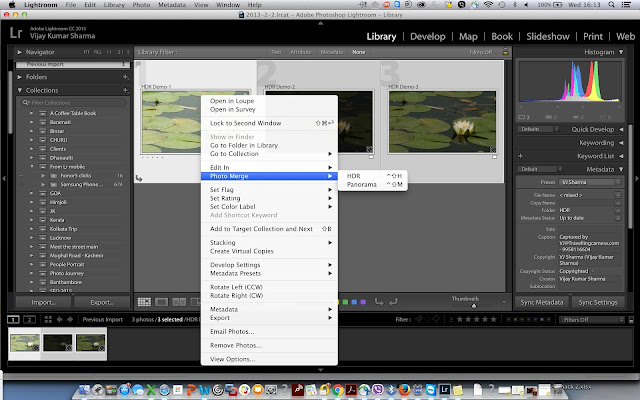
6. Select these 3 photographs, right click and go to 'Photo Merge - HDR'.
7. It would launch HDR Processing dialog.
Now you know how to use this dialog to create HDR output for your photograph :). Hope you like the trick. Just try it out and feel free to drop your questions/suggestions through comments below.
Few more samples -





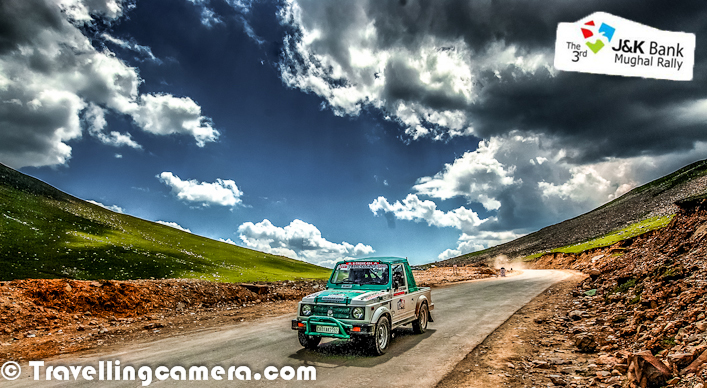
.jpg)

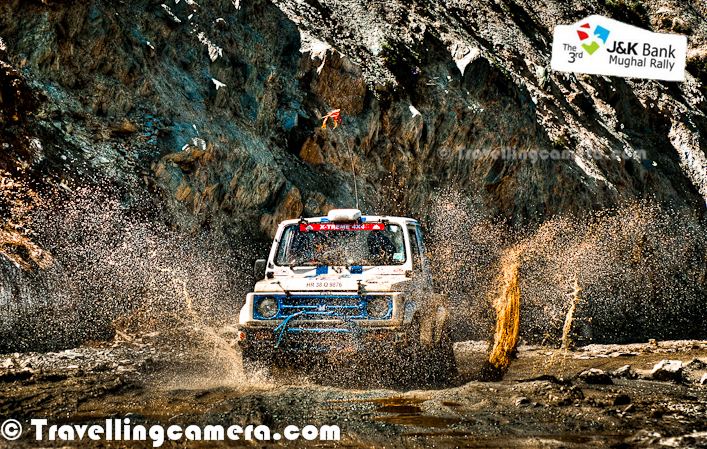

.jpg)
Comments