These days lot of Android Phone Cameras come with different kind of shooting modes and there is a popular mode for Food Photography. Recently someone asked a basic question around it and that made me think of compiling this post to help everyone with basic things which can help you clicking good food photographs irrespective of the fact that you have a Food mode in camera or not.
So first of all let's look at what Food Mode in Phone Cameras is and what is does?
It varies from one camera model to other. The basic ones simply enhance enhance colours of the photograph and usually enhance warmer shades of the frame. By that I mean that in Food mode your photographs would look more orangish in comparison to same frame shot in normal camera mode.
A little more advanced ones offer you more controls to shoot food photographs with Food mode in Phone cameras.
Let me take example of Food Mode I have seen in Samsung Phones and others would be more or less similar :
In your phone camera, swipe to Food Mode to open right mode before placing or styling your photograph. Now bring in your food with appropriate plating, place it in good light and have relevant ingredients placed around the main food dish. To adjust the color temperature or white balance you may see a control in form of a slider or a wheel.
Apart from adjusting colors in your photograph, some modes also have a setting to adjust blur and usually radial-blur. This control helps you highlighting the main portion of food dish by blurring other surrounding areas.
From above you may have figured that these modes like Food-Mode help you doing things in easier way. If they are not available in form of the mode, you can still achieve all that through other camera features and editing.
Related Blogpost - Expressions of a passionate Food Blogger who believes that visual appeal holds as much significance as healthy food || DEEBA RAJPAL
Related Blogpost - Expressions of a passionate Food Blogger who believes that visual appeal holds as much significance as healthy food || DEEBA RAJPAL
So let's talk about it now - How to click Food Photographs well when you don't have Food mode in your camera?
1. Ensure that there is good light on main part of your Food Dish.
2. Now have your props well placed around your main plating. Usually other things can be smaller kitchen stuff or ingredients of the dish being clicked.
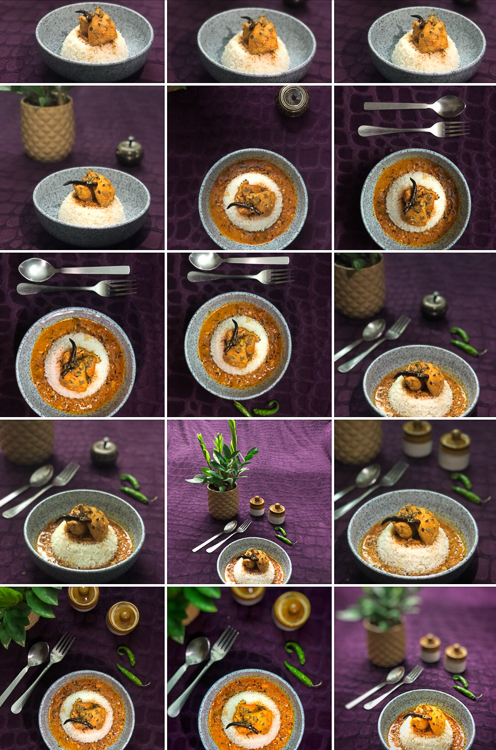
3. Now look through the your camera preview and adjust alignments. Also experiment with perspective and chose view which suits you.
4. When you are done with desired click, it's time to do editing. And now you can do things like adjusting colours, blurring some of the non-food parts of the frame to have depth & more focus on Food Dish.
Now above is more about simple process of clicking Food Photographs with or without Food mode in your phone camera. Let's go a little deep and learn techniques which always make your photographs look better.
Related Blogpost - Neha Mathur - An Inspiring Food Photographer/Blogger who believes that 'pleasure in job brings perfection in work'
Related Blogpost - Neha Mathur - An Inspiring Food Photographer/Blogger who believes that 'pleasure in job brings perfection in work'
Before we jump onto Food Photography specific things, you may want to some basics about Phone Camera Photography & then see what else can we do with food, it's ingredients or props -
1. Ensure that lens on your Phone Camera is clean.
2. You may want to switch off flash on your phone, as flash usually flattens the scene and you miss depth in your photograph.
3. You may want to make good use of Portrait Mode in your phone to achieve good Depth of Field.
4. Make good use of natural light, especially ambient/soft light coming into the room you are shooting in.
5. Apart from natural light, if you want to add fill light to the food dish, you can use another phone to use it's light as a light source.
6. Avoid using Zoom and instead go close to the food dish. That would help you keep the quality of photography intact along with nice perspective.
7. Choose a good location for shooting food !
Natural lighting is best. Artificial lights tend to obscure the plate and distort colours. Photo filters are unnecessary as they can actually hinder the quality of a food image. Here’s the deal, take photos next to a sun-filled window or outside on a nice day.
Related Blogpost - A Healthy & Tasty PHOTO JOURNEY with one of the most popular Indian Food Blogger Sangeeta Khanna
Related Blogpost - A Healthy & Tasty PHOTO JOURNEY with one of the most popular Indian Food Blogger Sangeeta Khanna
8. Rules of Composition relain the same for Food Photography as well, but certain aspects are more important in case of Food Photography in comparison to other genres.
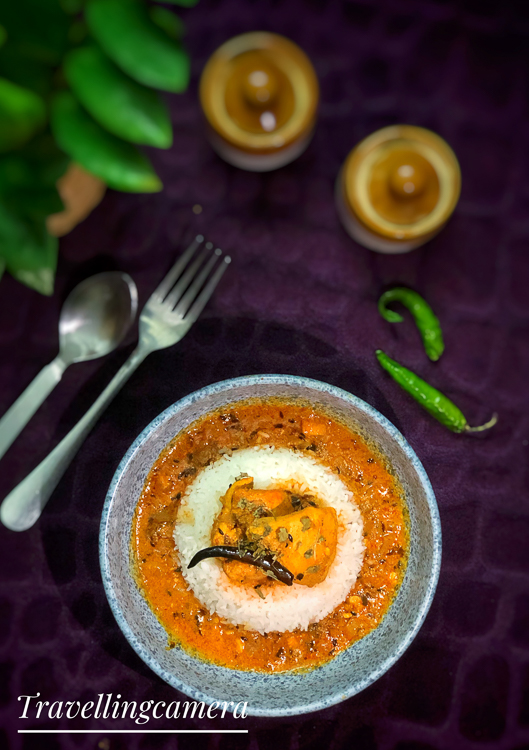
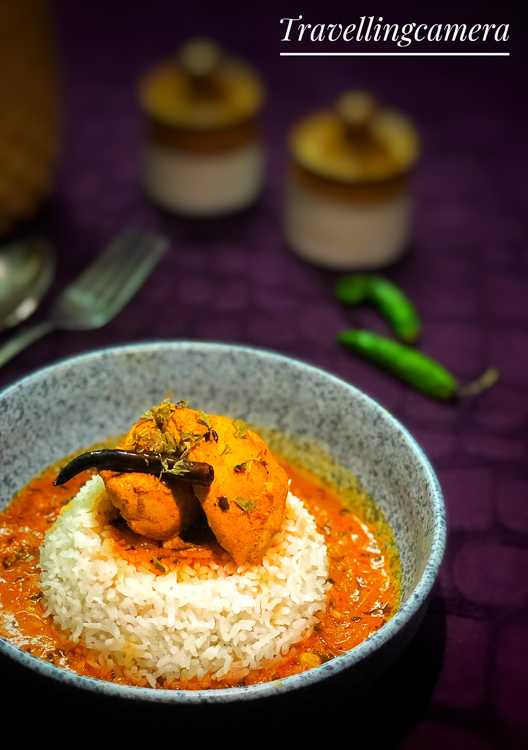
- The background should be uncluttered yet inviting to the viewer. However, the backdrop must not be too distracting as well. The food remains the star of the final photograph and should be the main focus. Here are some ideas for props you can place around your plate for making your frame delicious -
-- A piece of cutlery such as a spoon, a fork or a knife.
-- Ingredients or pieces used to prepare the dish.
-- A fabric, like a tablecloth or a simple napkin or kitchen towel. But make sure it's proportionate and relevant in the frame.
-- Wood grain of the kitchen counter or dining table.
Keep in mind, too many backdrop pieces can distract, or even overshadow, the focus of the photo - food item itself. With a more authentic presentation, the viewer feels like they are sitting at the table next to you.
Related Blogpost - In the Spotlight - Chandrima Sarkar, An inspiring Food Blogger & Photo story-teller
Related Blogpost - In the Spotlight - Chandrima Sarkar, An inspiring Food Blogger & Photo story-teller
9. Ensure freshness of the Food item.
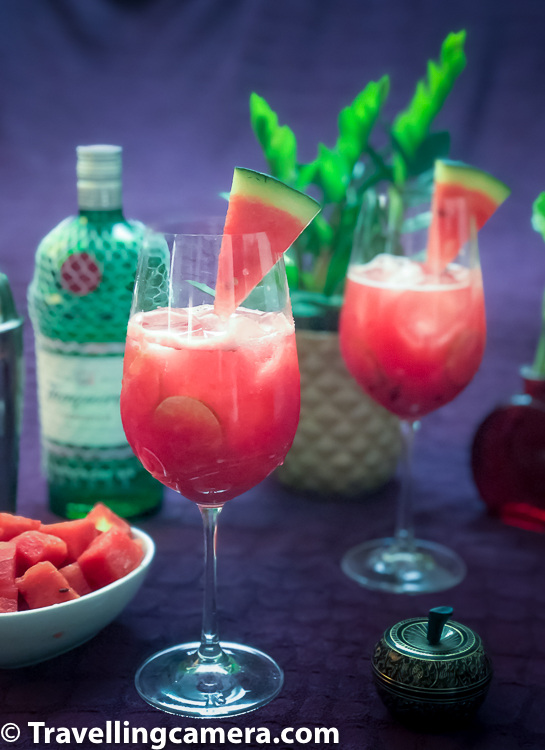
It's important that you click fresh food and don't let it sit for too long. You start loosing natural colours and texture also starts telling that food is not fresh. Same goes for the drinks, especially if you are trying to click ice cubes, which may melt soon if you don't click fast.
Related Blogpost - The famous Food Photography Workshop in Delhi by Aditya Arya and Dinesh Khanna at APEX Photo Academy with Food Stylist Sujata Sadr
10. Camera Angle and Point of view brings lot of difference to your photographs
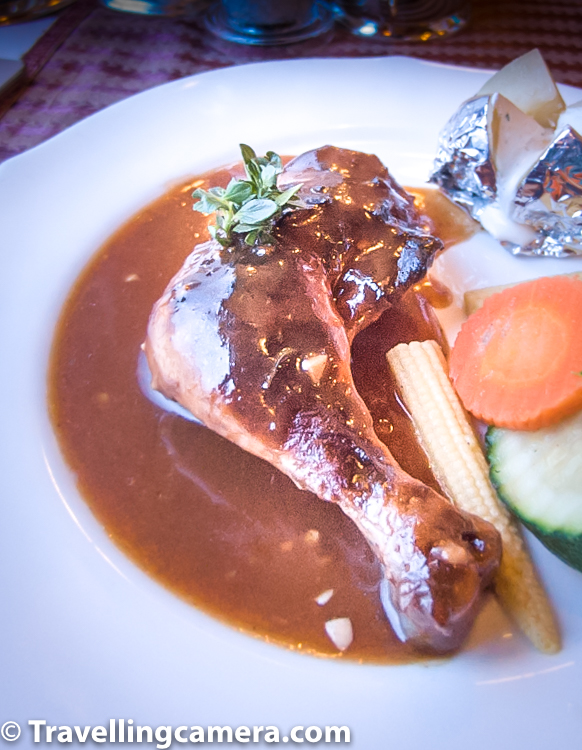
Angle of camera with respect to food dish makes lot of difference. So don't simply point the camera and click it. An overhead angle works best on pizza pies or generous bowls of pasta.
It's important for photographer to appreciate the speciality of food dish being photographed. That way you know what are the important elements to focus on, or zoom in. If there is a specific element of the dish you wish to highlight, go close to it or adjust camera angle so that it's represented well. E.g. - If you have garnished the dish with 2 leaves of coriander, you may want to ensure correct side of that those leaves is facing the camera and also other important elements of the dish. Which also means, how you place those leaves on dish is equally important. Highlight different shapes and textures of the food.
For some food items you may want to get down to have camera at plate level and shoot a picture straight on. Taking a photo at this angle will accentuate the height of a food item. E.g - a stack of brownies or pancakes look appetising in photos taken straight on.
All in all, the goal is to highlight the best qualities of the meal. Bear in mind, there is no harm in experimenting with new angles to capture the perfect shot.
Related Blogpost - Food Photography Workshop by Dinesh Khanna and Aditya Arya at Academy of Photography Excellence (APEX)
Related Blogpost - Food Photography Workshop by Dinesh Khanna and Aditya Arya at Academy of Photography Excellence (APEX)
Following Videos may be showing fancy cameras and equipments, but please pay attention to non-equipment details as all this can be acheived through Phone camera if lighting is good & you have composed the shot well.
..
..
Some additional details, which would help you appreciate the criticalities involved in Food Photography -
1. Have you ever tried to take a photo of a melting ice cream cone? French fries? Melted ice cream or soggy french fried don't look good.
2. Arrange the platter in a way that complements the ingredients. If you have a burger stuffed with a variety of toppings, then move the top bun to the side and display the contents of that juicy burger for all your viewers to see.
3. Take time to setup food & set right camera angle, but not too much time. The key to smartphone food photography is letting the ingredients that make up a dish shine on their own.
4. You can paint vegetable oil onto proteins to add a shiny effect. Also, including the steam from a hot meal into the photograph is a great way to obtain that fresh look.
If you want to go through few more tutorials about Food Photography with phone camera, here are few I would recommend.





.jpg)
Comments